Elevate Your Bathroom with Exquisite Shower Tile Ideas

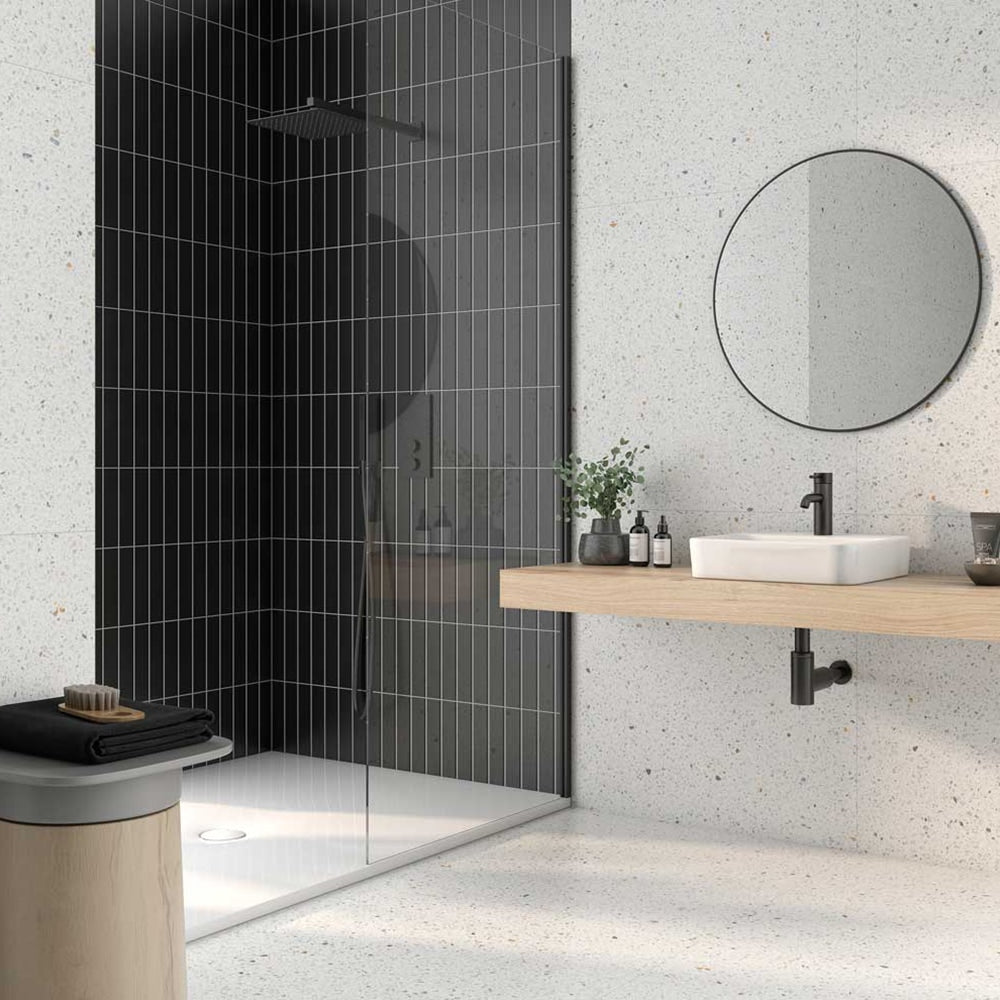
Unleashing Elegance: Block Negro Matte 2x10 Ceramic Tile
The Block Negro Matte 2x10 Ceramic Tile is a prime choice for those seeking an intriguing yet refined shower design. Its matte finish and elongated subway shape give your shower an attractive and contemporary look, ensuring your shower wall becomes a stunning focal point.Timeless Luxury: Calacatta Polished 4x12 Micro Beveled Marble Tile
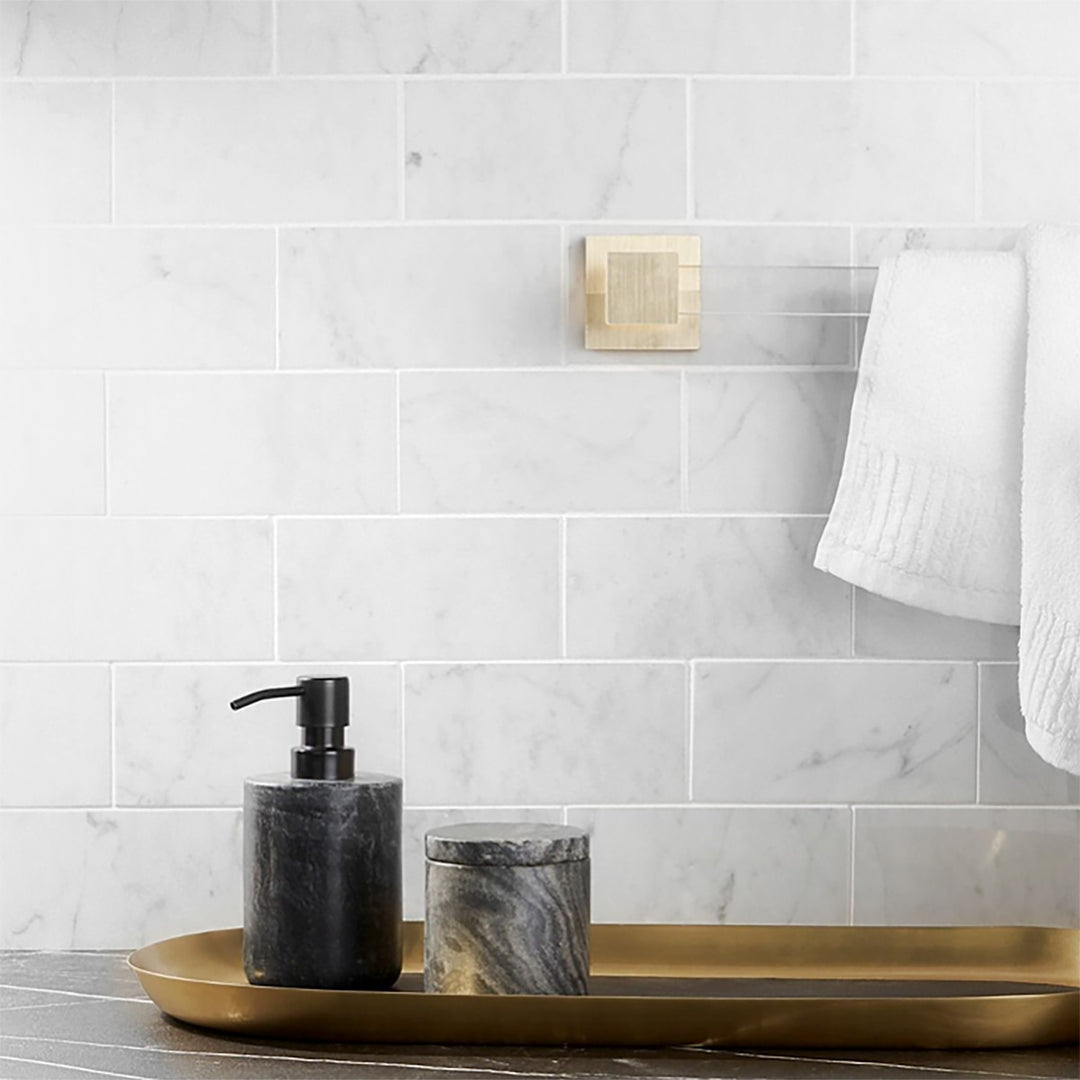
For a touch of timeless luxury, the Calacatta Polished 4x12 Micro Beveled Marble Tile is unbeatable. The polished marble finish exhibits classic beauty and offers an exquisite backdrop for your shower. Its micro-beveled edges add subtle depth to your shower wall.Cosmic Beauty: Flow Cosmic Sapphire Glossy 3x12 Ceramic Wall Tile
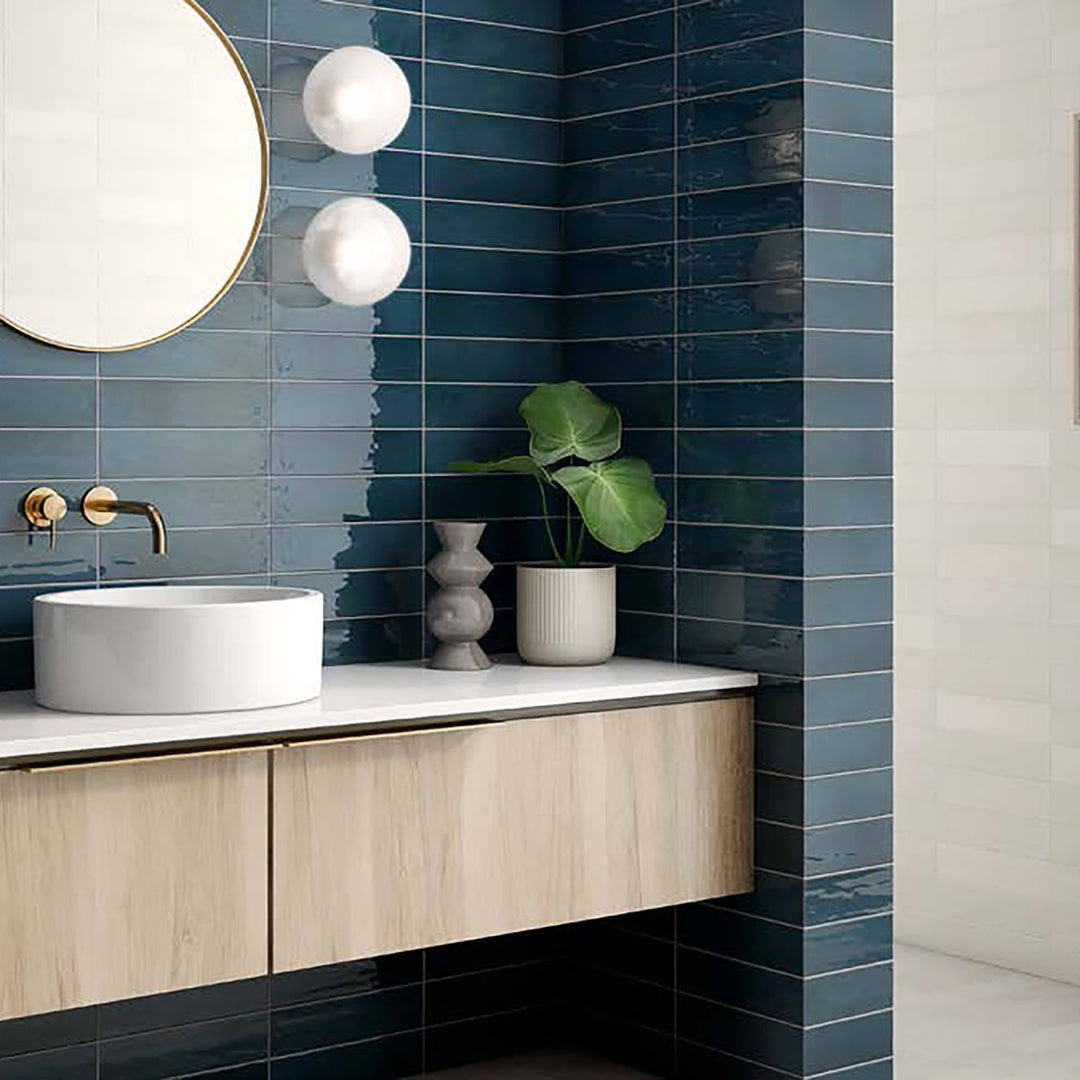
The Flow Cosmic Sapphire Glossy 3x12 Ceramic Wall Tile introduces cosmic allure to your shower. The glossy finish and bold blue color create a mesmerizing, spa-like atmosphere. Your shower design takes on a modern, artistic edge that's both serene and invigorating.Classic Elegance: White Carrara Polished 3x6 Marble Tile
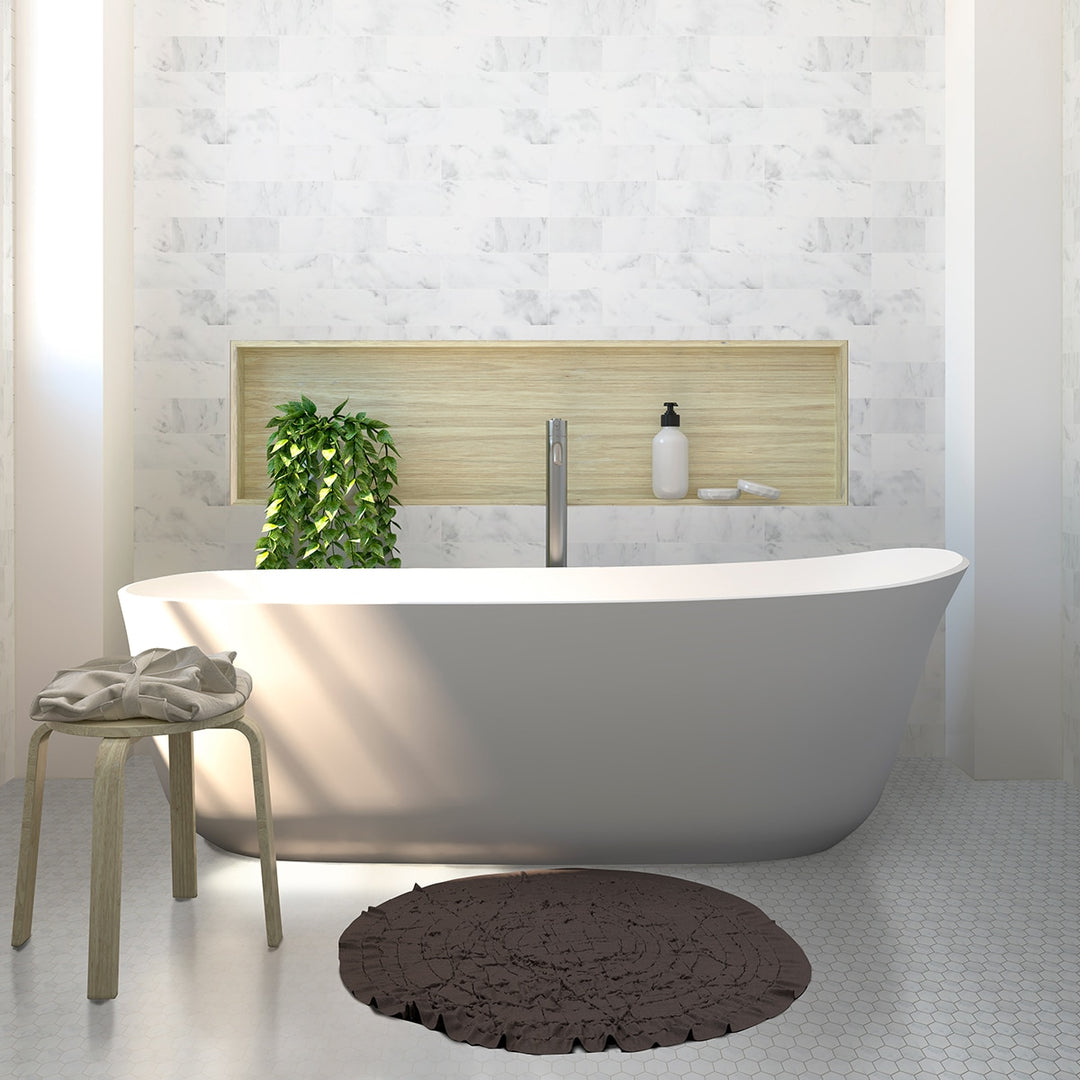
White Carrara Polished 3x6 Marble Tile is synonymous with classic elegance. The polished surface and timeless white marble material contribute to a shower space that emanates sophistication and luxury. It's the perfect canvas for creating a serene, spa-inspired shower sanctuary.Sleek Simplicity: Iris Blanco Glossy 3x12 Ceramic Tile
Iris Blanco Glossy 3x12 Ceramic Tile brings sleek and contemporary simplicity to your shower wall. The glossy surface reflects light and creates a visually spacious ambiance. Its clean lines and minimalistic design make it ideal for modern shower designs.Marble Masterpiece: Bianco Dolomiti Polished 6x12 Micro Beveled Marble Tile
The Bianco Dolomiti Polished 6x12 Micro Beveled Marble Tile is a marble masterpiece. The micro-beveled edges add dimension, and the polished surface elevates your shower wall into a work of art. This marble tile is perfect for those who appreciate the grandeur of natural stone.Contemporary Chic: Block Blanco Bright Glossy 2x10 Ceramic Tile
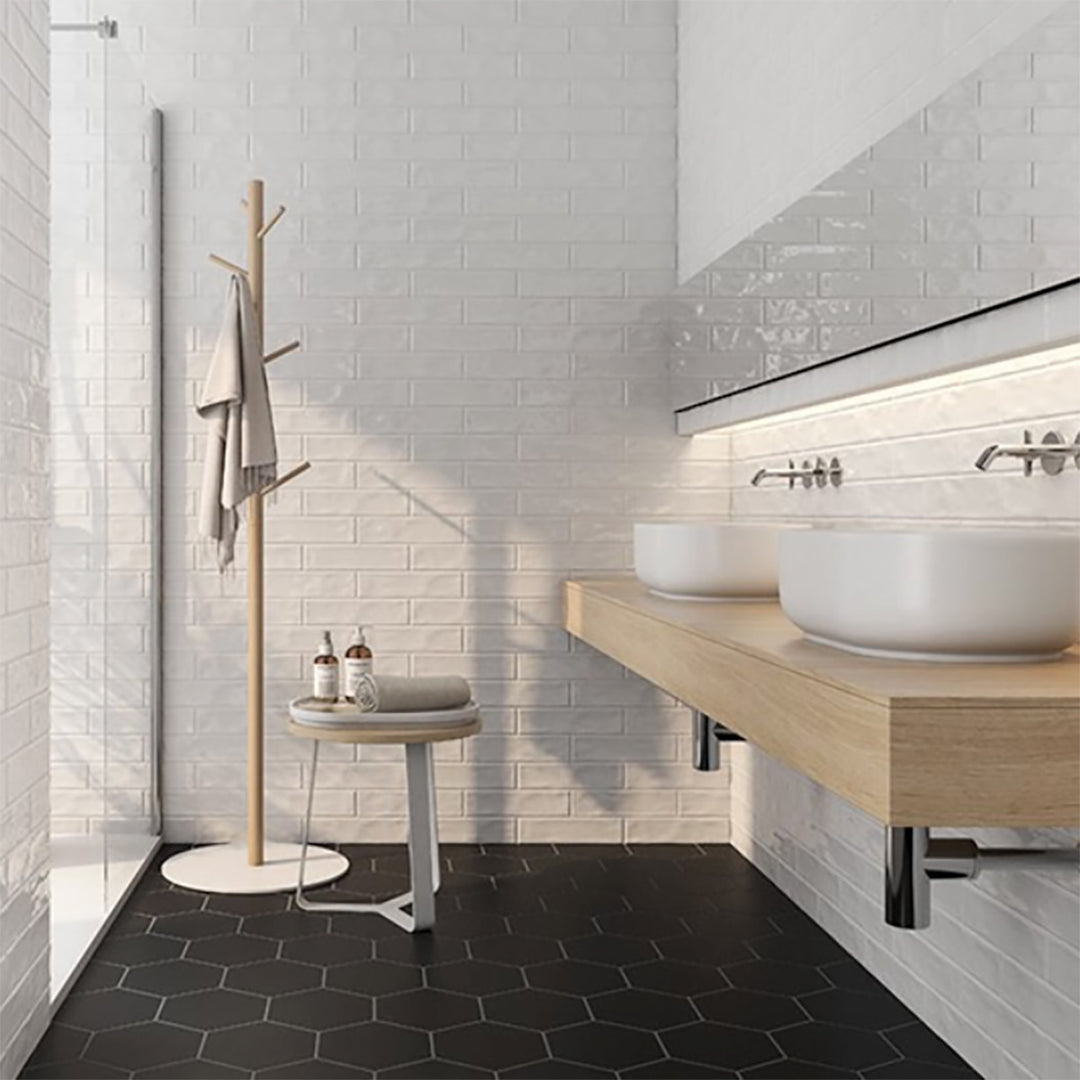
For contemporary chic, the Block Blanco Bright Glossy 2x10 Ceramic Tile is an excellent choice. The bright glossy finish and clean lines create a vibrant yet understated shower space. Its subway tile design blends modern aesthetics with timeless appeal.Subtle Sophistication: Zellige Tender Gray Glossy 2 1/2x16 Ceramic Wall Tile
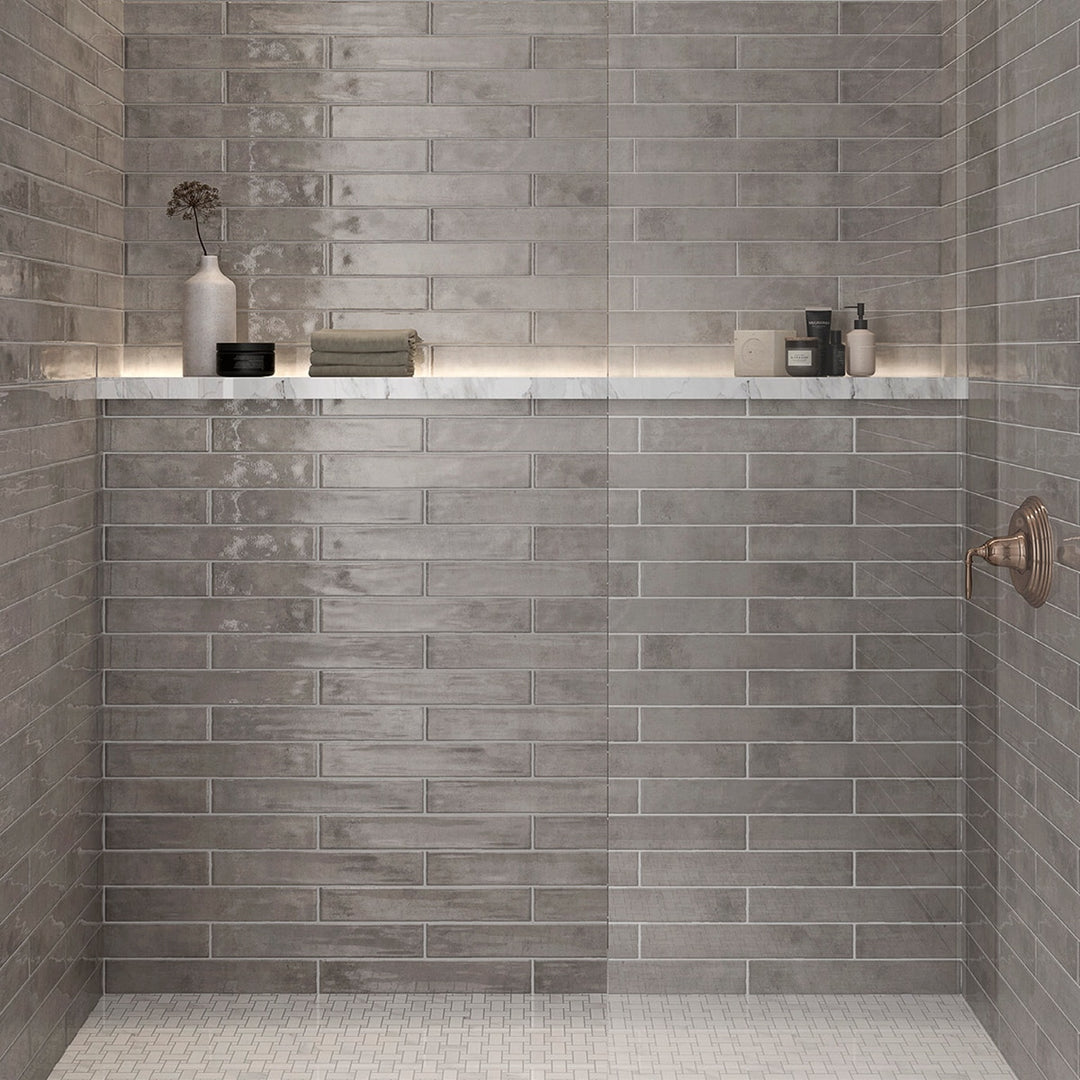
Zellige Tender Gray Glossy 2 1/2x16 Ceramic Wall Tile exudes subtle sophistication with a hint of rustic charm. The glossy finish and elongated shape evoke Moroccan tile patterns. Its gentle gray color adds depth and character to your shower design.Urban Vibes: Bar Tile Nuuk Glossy 3x12 Ceramic Wall Tile
Bar Tile Nuuk Glossy 3x12 Ceramic Wall Tile brings urban vibes to your shower space. The glossy finish enhances light reflection, creating a modern and energetic shower ambiance. The clean lines and neutral color make it versatile for various design styles.
In conclusion, your shower tile choice is pivotal in shaping your bathroom's style and comfort. Whether you prefer the contemporary allure of ceramic or the timeless elegance of marble, these shower tile ideas will help you craft a shower space that meets your functional and aesthetic expectations. Your journey to a stunning shower begins here.
Frequently Asked Questions (FAQs)
To tile a shower, start by thoroughly preparing the shower area, ensuring it's clean and level. Opt for water-resistant tiles like ceramic, porcelain, glass, or natural stone for the walls. Establish a reference line and apply thin-set adhesive, working in small sections. Place the tiles, using spacers to maintain even gaps. Cut tiles as needed for edges and corners, making precise measurements and cuts. After adhesive setting, apply grout and wipe off excess with a damp sponge. Inspect for any imperfections and make necessary touch-ups.
For regular maintenance, squeegee the shower walls and dry them with a clean cloth to prevent water spots. Use a pH-neutral cleaner weekly with a soft cloth or mop. For deeper cleaning, mix baking soda and water into a paste for stains, or use a mixture of water and vinegar for mold and mildew. Scrub grout with baking soda paste and an old toothbrush. Consistent cleaning and periodic grout sealing will keep your shower tiles looking pristine.
Start by preparing the wall's surface, ensuring it's clean and level. Plan your layout from the center outwards, using tile spacers for even gaps. Apply thin-set adhesive or mastic with a notched trowel and start from the center. Press tiles onto the adhesive, maintaining your layout. Cut tiles with a tile cutter or wet saw for precise fits. Once the adhesive sets, mix grout and apply it diagonally across the tiles, removing excess with a damp sponge. Seal the grout and finish by caulking corners and seams with a silicone-based caulk.
Begin by prepping the shower wall and marking your starting point, typically the center. Spread thin-set adhesive using a notched trowel, working in small sections. Press subway tiles into the adhesive, aligning them with your reference line and using tile spacers for even gaps. Cut tiles for edges and corners, ensuring precision. Once adhesive sets, apply grout diagonally across the tiles and remove excess with a damp sponge. Seal the grout and complete by applying silicone caulk to seams and corners for a waterproof seal.


